How to organize a shared pantry so every family member finds what they need
A child reaches for a snack, pulls the wrong box, and knocks jars off the shelf. That moment shows why most kitchen storage systems fail in multi-user households. The layout works for the person who built it but frustrates everyone else sharing the space. Fixing that problem requires matching shelf zones to the physical reach of each family member, choosing containers that fit those zones, and labeling them so the system survives daily use.
Contents
- Why does shared pantry organization fail in multi-user households?
- How do you zone a shared pantry by user height and access needs?
- Which food storage containers prevent spoilage and fit shared systems?
- How do you label pantry zones so partners and kids follow the system?
- What kitchen storage ideas prevent duplicate grocery purchases?
- How does family meal planning integrate with pantry organization?
- What should not be stored in a shared family pantry?
Key takeaways
- Shared pantry organization fails when the system assumes a single user.
- Zone your shared pantry by assigning shelf levels to specific users.
- Clear, airtight food storage containers prevent spoilage and let all family members see inventory levels instantly.
- Label pantry zones using both text and visual cues so users of all reading levels understand where items belong.
- Preventing duplicate purchases means making current inventory visible before shopping.
Why does shared pantry organization fail in multi-user households?
Shared pantry organization fails when the system assumes a single user. Family members have different reach heights, snack preferences, and shopping habits. A layout designed for one adult makes things harder for children and partners, leading to misplaced items, duplicate grocery purchases, and expired food hidden behind newer stock.
Mismatched reach heights cause most kitchen storage failures. Adults store everyday staples on upper shelves where younger children cannot see or retrieve them safely. Children then ask for help with every snack, defeating the purpose of independent access. Partners who do not understand the arrangement push items into the nearest open gap rather than returning them to assigned zones.
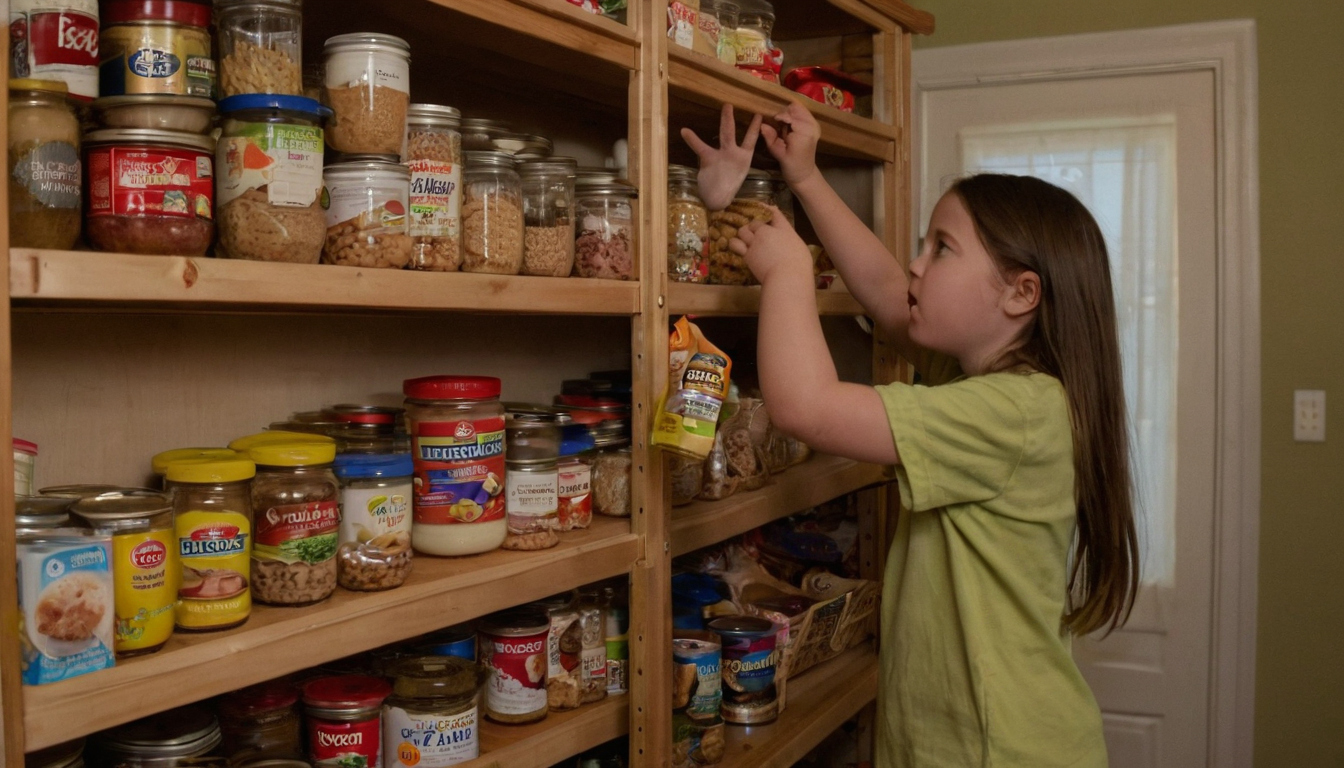
Why does shared pantry organization fail in multi-user households.
Hidden inventory compounds the problem. When cans and bags stack behind each other, shoppers buy duplicates of what the household already owns. Older packages slide out of sight until they expire. That waste costs money and forces extra trips to the store. Pantry organization breaks down because visibility matters as much as container choice.
Resolving these conflicts means matching shelf space to the physical reach of every person using it. How do you zone a shared pantry by user height and access needs?
How do you zone a shared pantry by user height and access needs?
Zone your shared pantry by assigning shelf levels to specific users. Place everyday snacks for children on lower shelves they can reach independently. Store daily cooking staples at adult eye level. Reserve top shelves for bulk backups or lightweight appliances. Zoning by height prevents the need for constant supervision and reduces accidental spills from overreaching.
Adjust vertical spacing between shelves to fit the tallest item in each zone rather than defaulting to uniform gaps. A household with toddlers, school-age children, and adults needs distinct horizontal bands. Treating the pantry as a single-user system forces shorter family members to climb and taller ones to crouch, creating the frustration that leads people to abandon organization systems. For context on functional work surfaces, the U.S. Department of Justice sets accessible dining and work surfaces at 28 to 34 inches above the finish floor or ground in its 2010 ADA Standards for Accessible Design. While pantry shelving differs from a dining table, this range offers a reference point for comfortable working heights when planning where daily prep items should sit relative to an adult's stance.
Build the zoning plan around a risk checklist that puts safe reach ahead of maximum capacity:
- Map every household member's comfortable standing reach before installing or adjusting shelves. A functional reach is significantly lower than a maximum stretched reach.
- Assign the lowest band exclusively to child-safe snacks and lightweight items.
What are safe shelf heights for children accessing snacks independently?
Toddlers and younger preschoolers need a dedicated bottom shelf near the floor. Stock this level only with unbreakable packaging. Soft pouches, small cardboard boxes, and plastic bins belong here. Glass jars, heavy cans, and items requiring adult preparation must stay out of this zone entirely. A child who pulls a heavy object down from a high shelf risks injury and creates a mess that discourages parents from maintaining the system.
School-age children manage lower shelves safely, provided the items stored there remain lightweight. Test the setup by watching the child retrieve and replace an empty container. If the child leans forward so far that their balance shifts, the shelf is too high for independent use. Adjust the vertical spacing until the child can reach with a controlled motion.
Where should heavy or bulk food storage containers go?
Distribute weight evenly across the shelf width. A heavy bag of flour placed in the center will bow thin wire shelving over time, potentially causing nearby lighter items to slide. Move heavy bulk containers toward the vertical support poles or side walls where the frame bears the load most effectively. If your pantry uses adjustable tracks, lock the brackets firmly into place after moving them to fit taller bulk items.
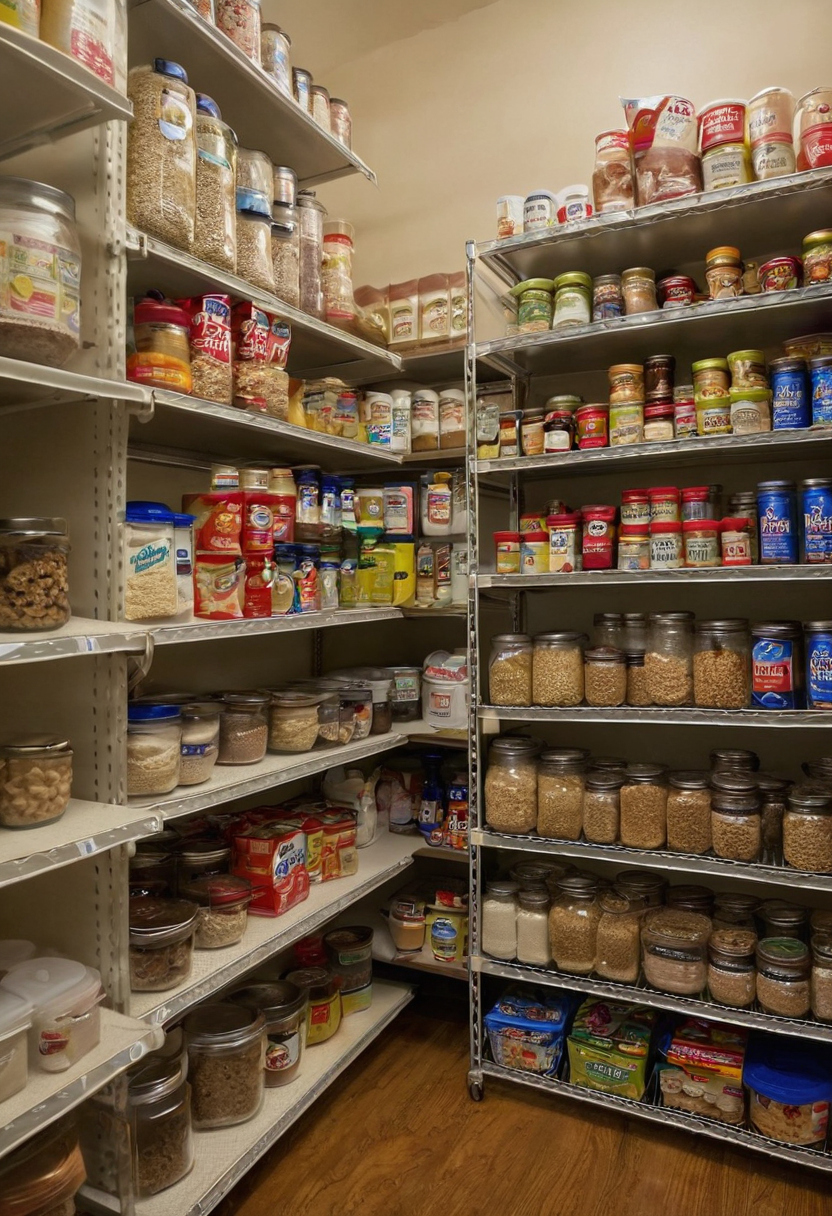
How do you zone a shared pantry by user height and access needs.
Bulk purchases kept as long-term backups should go on the highest shelves only if those items are light enough to carry down safely. Vacuum-sealed dried beans or boxed pasta fit this requirement. Large liquid jugs do not. When a bulk item runs out, the adult transfers the contents into smaller daily-use containers for the middle shelves, keeping supplies moving downward through the zones.
Once the physical zones are set by height and weight, the next question is what holds the food inside them. Which food storage containers prevent spoilage and fit shared systems?
Which food storage containers prevent spoilage and fit shared systems?
Clear, airtight food storage containers prevent spoilage and let all family members see inventory levels instantly. Uniform rectangular shapes maximize shelf space compared to mixed original packaging. Choose materials based on weight and user: lighter plastics for lower shelves children access, and glass for adult-level staples where weight is manageable.
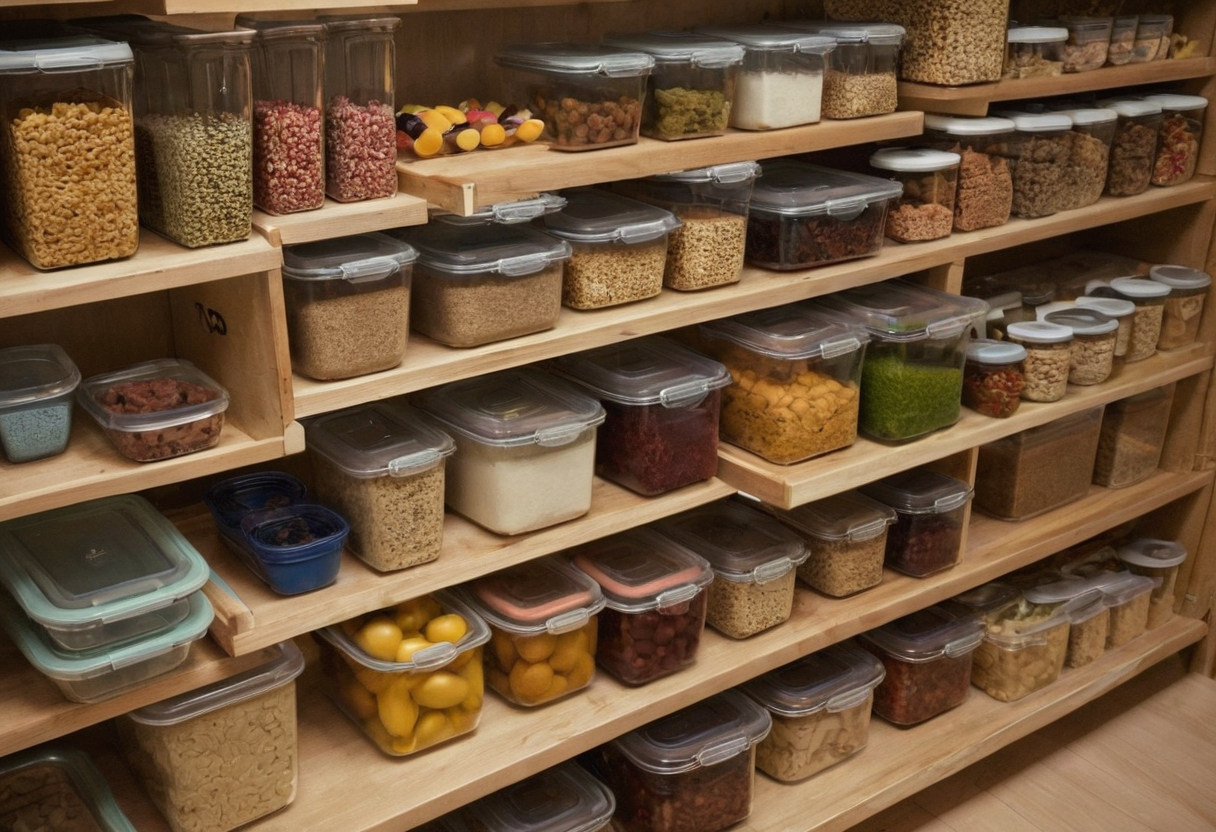
Which food storage containers prevent spoilage and fit shared systems.
Use these practical criteria to select containers for a shared pantry system that holds up under daily use:
- Pick clear materials so inventory checks happen without opening lids.
- Match container weight to the user assigned to that shelf height.
- Ensure seals are tight enough to keep dry goods fresh between uses.
Floor clearance around the pantry also determines container depth. The U.S. Department of Justice specifies a 30 by 48 inch clear floor or ground space for wheelchair positioning in the 2010 ADA Standards for Accessible Design. If your household includes someone using a wheelchair or mobility aid, make sure the aisle in front of the pantry meets this footprint so they can reach containers without shifting the entire shelving unit. Deep bins pushed to the back of a shelf become inaccessible if the user cannot get close enough to grip them.
Glass versus plastic: which material works best for family kitchens?
Glass containers resist stains, retain no odors from previous contents, and tolerate hot liquids without warping. But glass adds significant weight. A full jar of oats or sugar becomes heavy enough to strain a young child's grip or slip from small hands. Reserve glass for adult-height shelves holding baking supplies, dried beans, or bulk grains where the weight remains manageable for older users.
Plastic containers weigh significantly less and survive drops onto hard kitchen floors without shattering. Plastic scratches over time, which can trap fine particles if not washed thoroughly. Certain tomato-based or heavily spiced foods may stain the walls permanently. Put lightweight plastic bins on the lower shelves designated for children. A young child can safely lift a plastic container of pretzels or raisins without risking broken glass on the floor.
Match the material to the zone established in your height plan. Use glass in adult zones for longevity and clarity. Use plastic in child zones for safety and independence. This division keeps the pantry functional across different reach heights and grip strengths without forcing one material to serve every user.
Once the right containers are on their assigned shelves, the next challenge is making sure every household member knows exactly where each item belongs. How do you label pantry zones so partners and kids follow the system?
How do you label pantry zones so partners and kids follow the system?
Label pantry zones using both text and visual cues so users of all reading levels understand where items belong. Use consistent categories like "Breakfast," "After-School Snacks," or "Dinner Prep." Clear labeling removes guesswork for partners who did not design the system and helps children return items to the correct spot independently.
Pantry organization relies on visible cues that make it easier for every household member to find things. Young children process pictures faster than printed words, while adults scanning shelves during rushed dinner prep need to recognize text immediately. Pairing a printed word with a simple icon meets both needs at once. A shelf designated for after-school snacks might display the word "Snacks" alongside an illustration of an apple or a granola bar. This word-and-image approach prevents misplacement because the brain registers the image before the reader finishes processing the text.
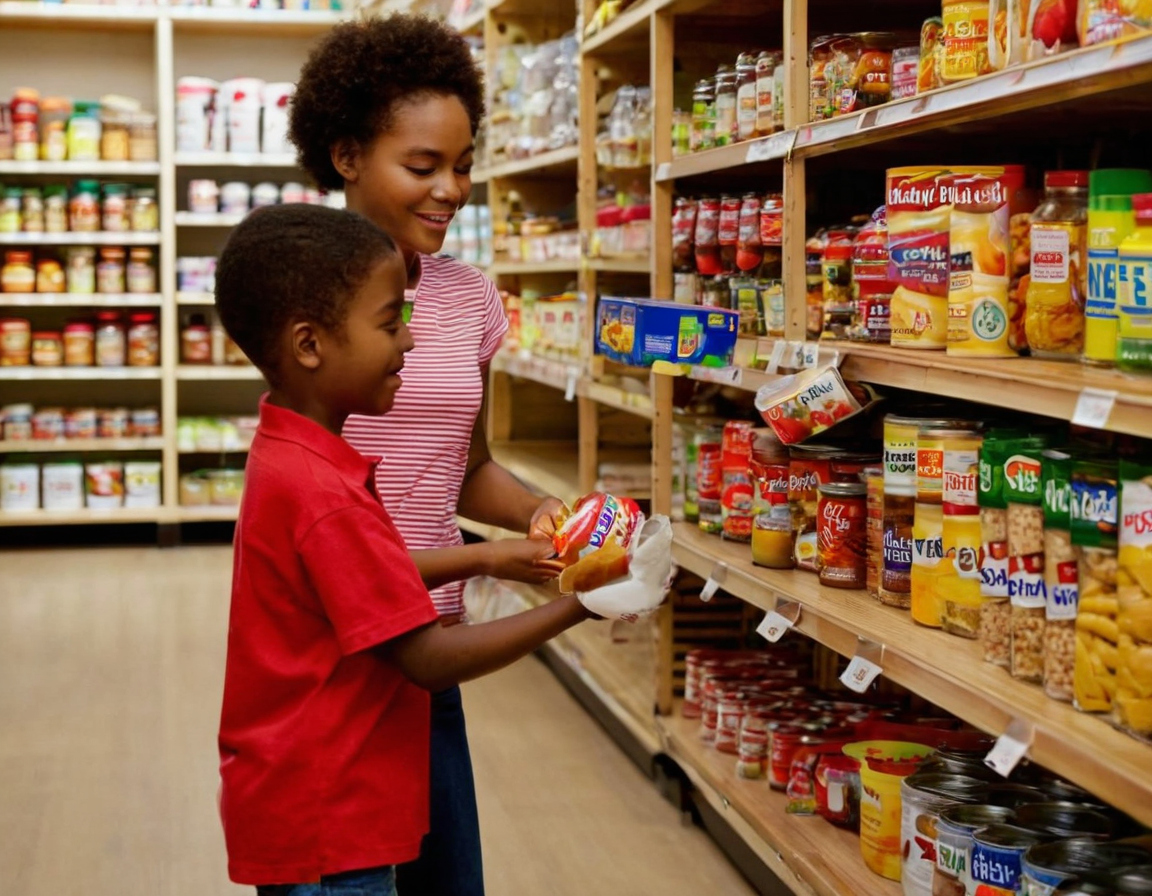
How do you label pantry zones so partners and kids follow the system.
Category names must reflect actual household routines rather than abstract grocery departments. Labeling a bin "Grains" confuses a child looking for crackers. Labeling the same bin "Lunchbox Fillers" tells a school-age child exactly what belongs inside and gives a partner packing lunches a clear place to look. Match zone titles to your family's activities: "Morning Rush," "Baking Supplies," "Quick Dinners," or "Toddler Reach." When the label describes the activity, the food storage containers naturally find their way back to their assigned spots after use.
Kitchens need durable label materials. Standard paper stickers peel quickly when exposed to cooking humidity, proximity to the refrigerator, and frequent handling by sticky fingers. Laminated cardstock, vinyl decals, or chalkboard-paint surfaces withstand daily friction and moisture. Chalkboard labels have a particular advantage for shared pantries: categories shift as seasons change or dietary preferences evolve, and erasing a chalk label takes seconds without leaving adhesive residue on bins or shelves.
Placement height determines whether a label works. Position text and icons at the eye level of the main user for that shelf. Labels meant for children belong on the lower edge of the bin or directly on the container lid they handle, not on the upper lip of a high shelf. Adult labels sit higher. Consistent placement trains the eye to find information in the same location every time someone opens the pantry door.
A labeled system only lasts if everyone trusts it. Once zones have clear names and icons, enforce a single rule: items live in their named zone or the label changes. This flexibility prevents the system from becoming rigid and ignored. With every shelf clearly identified, the next question shifts from finding food to buying it: what kitchen storage ideas prevent duplicate grocery purchases?
What kitchen storage ideas prevent duplicate grocery purchases?
Preventing duplicate purchases means making current inventory visible before shopping. Keep a running list attached to the pantry door or use clear bins where low stock is immediately obvious. Group identical item types together rather than scattering them by meal category, so any family member checking supplies sees exactly what remains before adding it to the grocery app.
Clear food storage containers solve the visibility problem faster than opaque boxes. When pasta, rice, and snacks sit behind solid doors, partners and children grab new packages without checking what is already there. Transparent bins show quantities at a glance. A half-empty container of oats signals the household to wait before buying more.
A single shared grocery list eliminates overlapping purchases. Families often keep separate lists on different phones or scattered paper notes, leading to multiple bags of flour arriving in one week. Mount a magnetic notepad on the pantry door or sync one digital list across all household devices. Require every shopper to check this list before leaving the house.
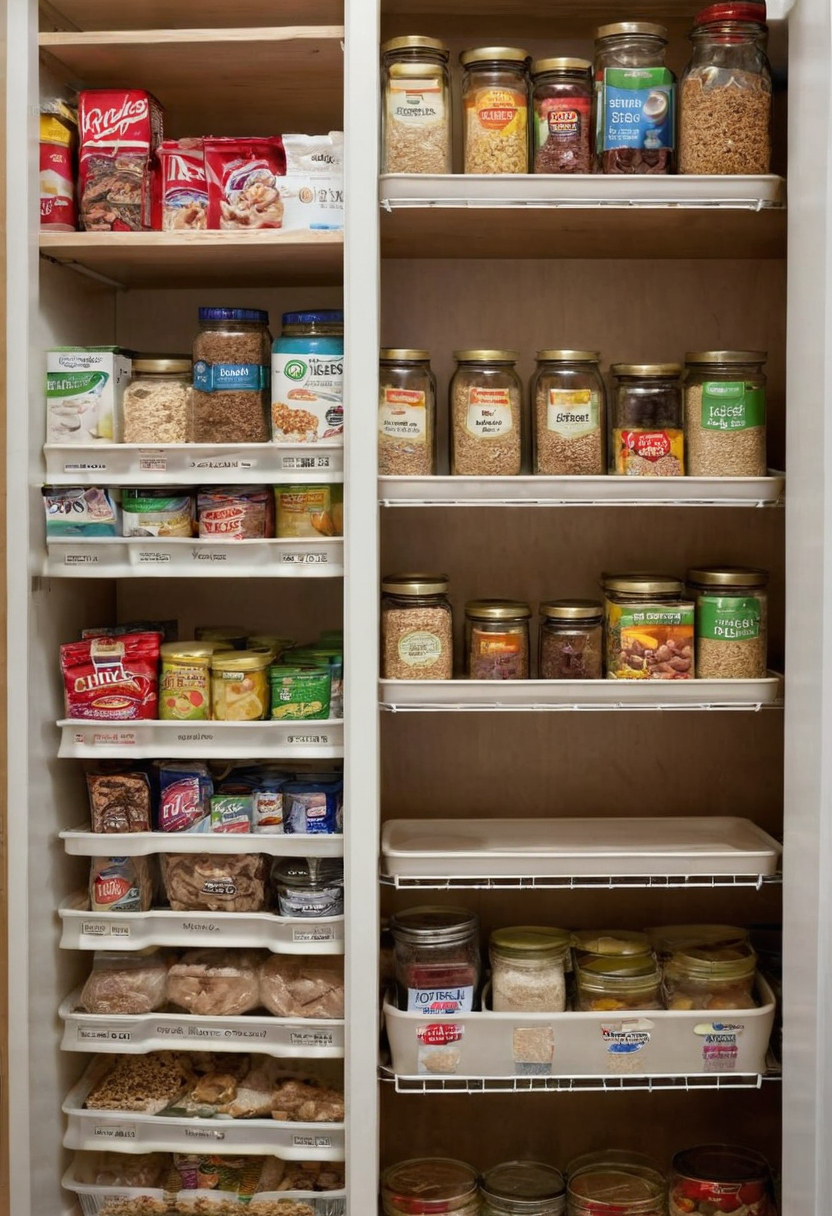
What kitchen storage ideas prevent duplicate grocery purchases.
Combining duplicates into one open package prevents accidental overbuying. If two boxes of crackers sit sealed in the pantry, a tired parent might assume the household is out and add another box to the cart. Open one package at a time and discard the empty box immediately so the remaining count stays accurate.
Visible inventory stops unnecessary spending, but knowing what you have only helps if you know what you plan to cook. How does family meal planning fit with pantry organization?
How does family meal planning integrate with pantry organization?
Family meal planning works directly with pantry organization when weekly menus are built around existing visible stock. Designate a specific shelf or bin for "This Week's Meals" ingredients. This staging area connects storage with preparation, ensuring planned dinners are actually cooked and reducing the temptation to order takeout because of missing ingredients.
Build your weekly menu by scanning the staging shelf before writing a grocery list. Move ingredients from long-term pantry zones into the designated weekly bin at the start of the week. Group items by dinner rather than by food category. Place a scheduled meal's pasta, sauce jar, and canned beans together in one container or on one shelf segment. This routine eliminates the daily search through deep shelves during busy weeknights.
Cooking goes more smoothly when all ingredients for a single recipe sit within arm's reach. Parents managing family meal planning spend less time opening multiple doors or shifting heavy cans to find a spice packet. Children helping with dinner prep can locate the correct ingredients independently because the staging area limits choices to the current week's plan. The pantry stops serving as a warehouse and becomes an active kitchen station.
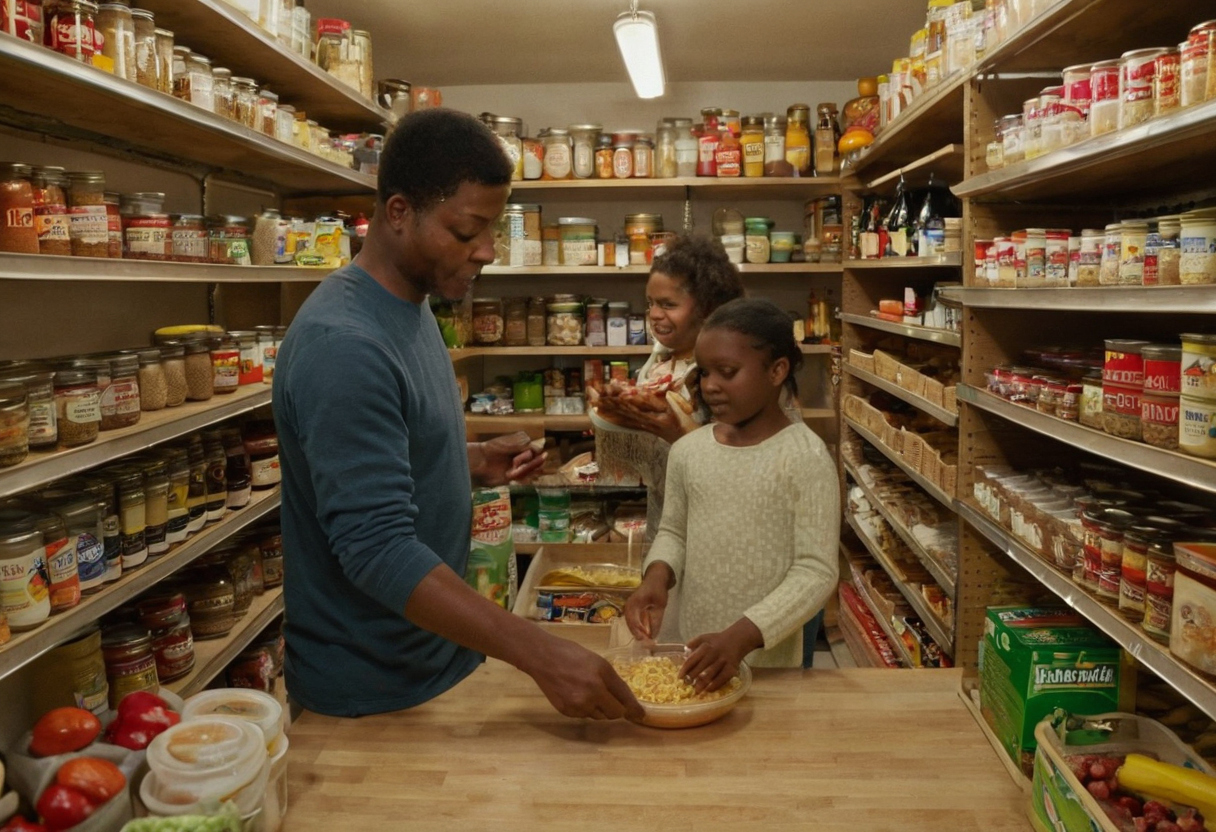
How does family meal planning integrate with pantry organization.
Review the staging shelf midweek to catch missing items early. If a planned meal requires fresh produce that spoils quickly, keep those perishables in the refrigerator but store their corresponding dry pantry goods in the weekly bin. This separation maintains food safety while keeping the system intact. A zoned system only works if every household member trusts it. That trust breaks down fast when non-food items share space with dinner ingredients. Knowing exactly what to keep out of a shared family pantry protects both the food supply and the system you just built.
What should not be stored in a shared family pantry?
Do not store temperature-sensitive items, strong-smelling non-food products, or heavy appliances without secure footing in a shared family pantry. Keep cleaning chemicals completely separate from food to prevent accidental ingestion by children. Items requiring refrigeration after opening must stay in the fridge, even if pantry space is available, to ensure food safety.
Moisture damages dry goods faster than any other factor. Condensation inside enclosed shelving creates conditions where mold spores multiply on grains, flour, and packaging. The U.S. Environmental Protection Agency states that wet or damp spots should be fixed promptly to prevent mold growth. A pantry built against an uninsulated exterior wall often collects condensation during seasonal temperature changes. Move moisture-prone storage away from those walls, or address the dampness before restocking shelves.
Household chemicals create a second hazard in food storage zones. Paints, varnishes, waxes, cleaning products, building materials, and furnishings emit volatile organic compounds according to the U.S. Environmental Protection Agency. Storing dish soap, surface sprays, or floor polish next to open snack bins allows chemical vapors to settle on food packaging. Children reaching for crackers can transfer residue from nearby bottles to their hands and mouths. Move all cleaning supplies to a dedicated utility cabinet outside the kitchen pantry footprint.
Ventilation needs change when household products off-gas near food. The U.S. Environmental Protection Agency recommends increasing ventilation during indoor use of products that emit volatile organic compounds. A closed pantry door traps those emissions. If you must apply a finish or cleaner near the kitchen, open windows and run exhaust fans until the odor is completely gone before returning dry goods to the shelves.
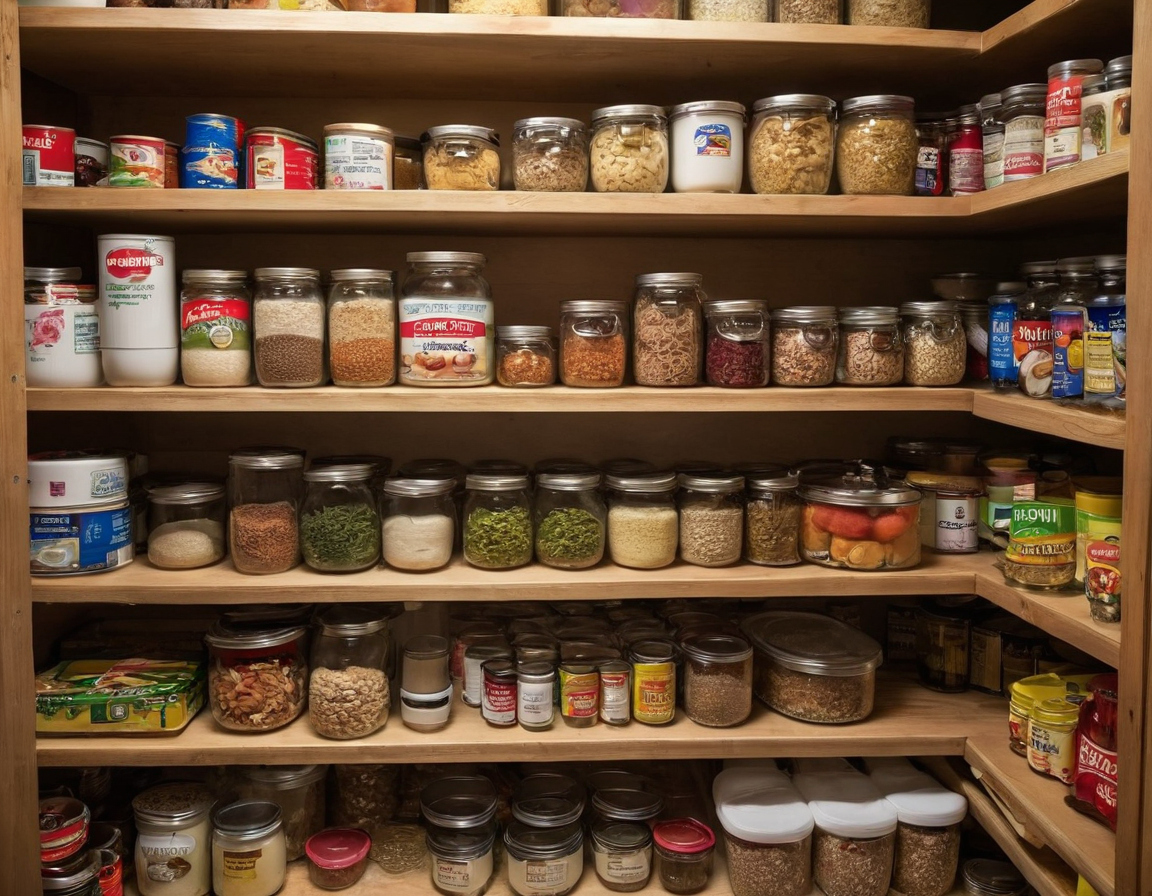
What should not be stored in a shared family pantry.
Small appliances without stable bases pose physical risks on upper shelves. Stand mixers, blenders, and bread machines belong on countertops or in lower cabinets with solid flooring, not balanced above eye level where a child might pull them down. Check your pantry inventory today: remove every non-food item, wipe down surfaces, and return only sealed, shelf-stable groceries to the zoned system you have built.
For more on this topic, see other guides on this site.